Finally, a post! (I should warn you at this point, this is a LONG post).
The last week and a bit seems to have flown by. Autumn has officially started (my favourite season) I've had good luck, I found out earlier this evening that I've won the talented
Lemonade Kitty's givaway for a knitted pumpkin, I will have to 'add' the face. I will post more when it arrives and I've 'made a face' :o) I've been busy (what's new?) jam making - more later, and Hubby and I finally got around to making a hedgehog house for the garden..
But first, thank you for your good wishes for my birthday - yes, I know I'd been quiet about it but
George the Lad (the rascal) let the cat out of the bag! So to update you, dear Hubby got me my lovely Panasonic Lumix camera and gorgeous red roses :o) With some of the money I received I have booked and started evening classes to 'Improve my digital photography' and I also bought a new copy of Adobe Photoshop Elements 8, so
hopefully there should be an improvement in my photos over the coming weeks! (WHEN I learn what to do with Photoshop of course.) And I purchased the wood for the hoggy house project.
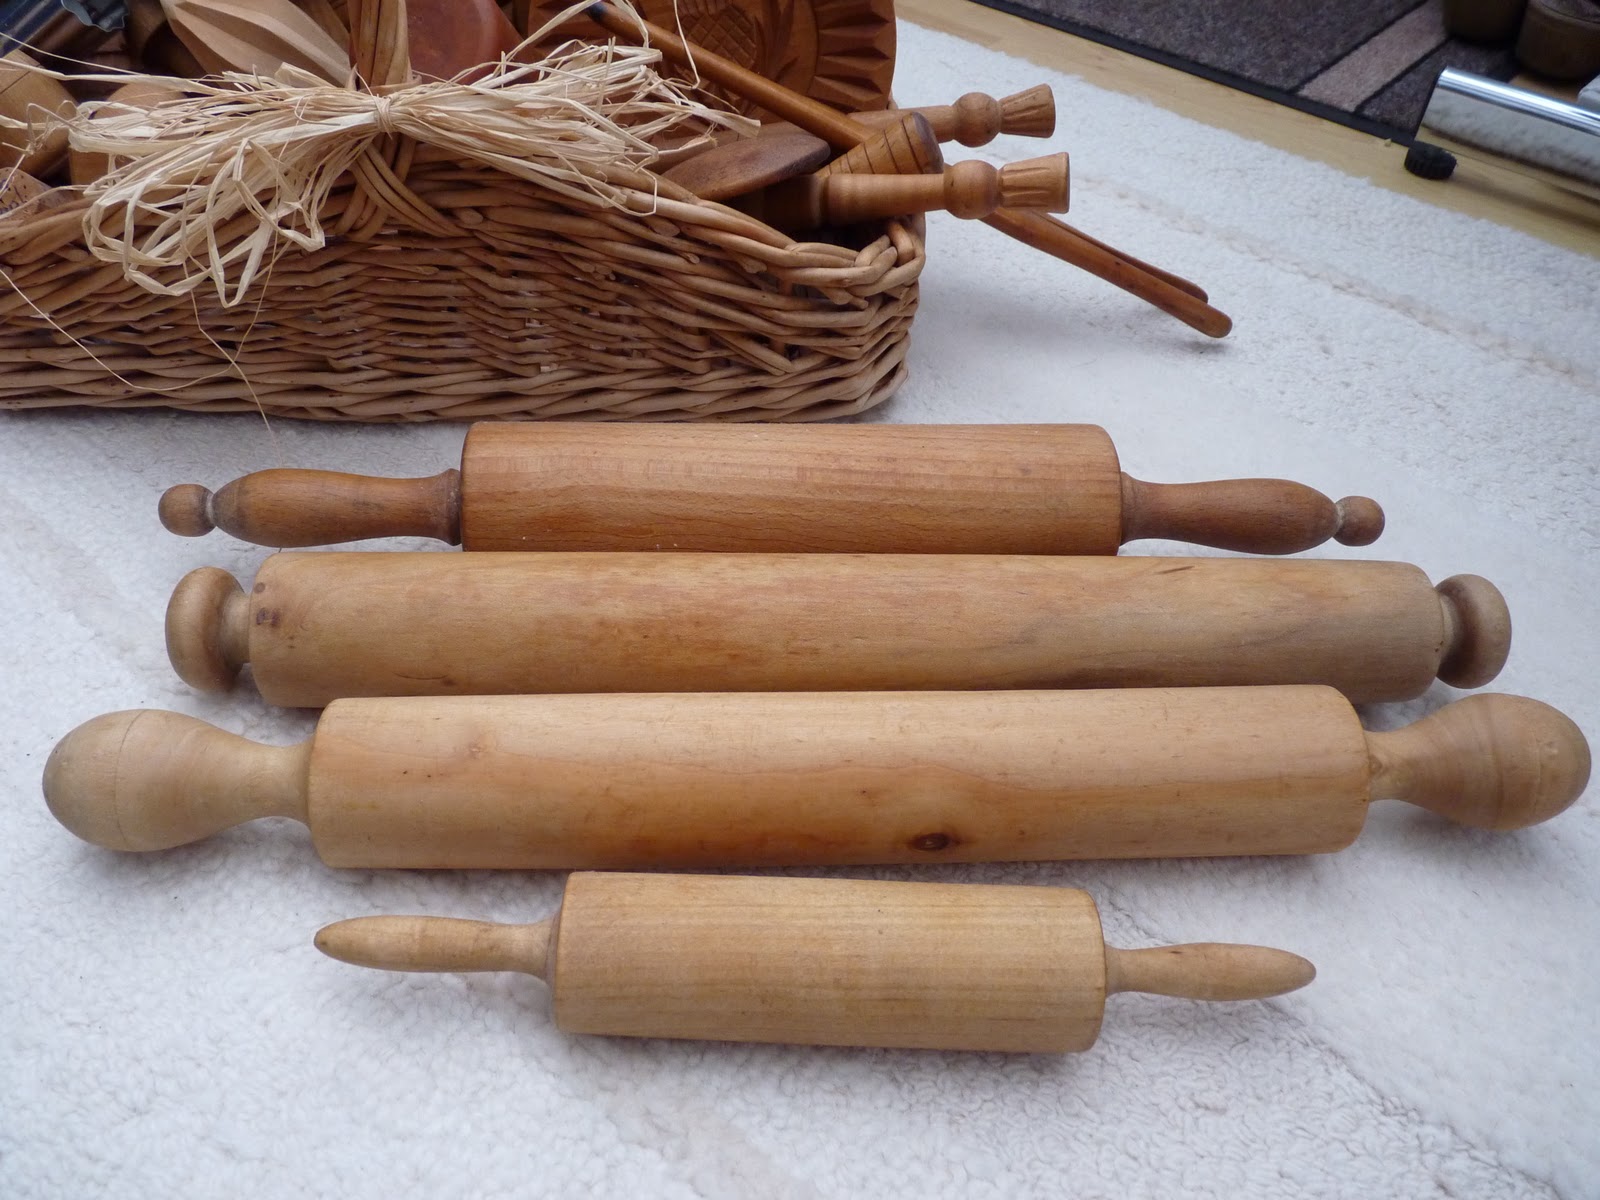
I found a couple of Autumnal bargain for 75p
Approx 6" diameter and 5" high
A scary wooden cat 15" high £3. I really like it.
I've kinda thrown together a quick Autumn table vignette....

I intend to add a little 'something' to put in the pumpkin.
The leaf dishes were found earlier this year for a song, as was the 'acorn' plate at the far end of the table.
The table runner was made and embroidered entirely by my Nan, I can remember it well throughout my childhood.
Such lovely Autumnal colours.
The centrepiece was my Aunt's. It's made by Capo di Monte, I can remember her having it - and it was such a treasure to her, it has since grown on me. At the time I just couldn't bear the thought of it going to a charity shop when she died, and so re-homed it.
Close up the fruit is so realistic.
o - o - o
Now, the hoggy house. Each evening I have three and sometimes four little prickly visitors to my garden, they come for all the free food they can eat! With Autumn here, the little fellows will be thinking about finding somewhere to bed down for their Winter hibernation. With this in mind I wanted to offer them a nice warm cosy home. We looked at different plans that are available and decided to 'go our own way' a little, but use the basic principals. I don't have progress photos, but I do have photos of the finished article. I have often used and in fact own my own power tools, but the delights of the compressed air nail gun was a first for me on this project!
The dimensions are 24" wide x 20" deep x 12" high (front) 10" high (back).
The rear view showing the air vent cover.

Internal view. The internal tunnel is to prevent dogs, foxes or cats from reaching the sleeping hoggy. The 'bedroom' area is base lined with cardboard and newspaper, then I have half filled it with nice fresh hay. I will collect a couple of carrier bags of fallen leaves to pile nearby so that if I get a resident they can complete the nest to their own design :o) The roof is covered firstly with a layer of bubble wrap for a little extra insulation and then totally with pond liner for a waterproof finish. I then reinforced the corners with black duct tape. As you can see it is completely removable so that I can clean it out twice a year.
It is made from untreated pine, and the outside only is painted with a water based, pet friendly wood preservative. I have positioned it on bricks to raise it off the soil at the back of the greenhouse, so that the left hand side (North) is protected by a fence and a small log pile - that I had to disturb and rebuilt, along with it's resident frog who hopped off safely behind the greenhouse. The back of the hoggy house is to the East, and again the greenhouse will protect it from the cold Easterly winds.
The 'house' in position. As you can see I have split up and re-built the log piles. To the left I added a large broken terracotta plant pot so that the frog still has a safe home. I also intend to add to the log pile and maybe cover the roof with some more for added protection against the cold weather. Here's the view from the path edge.
I then 'baited' the pathway to the house with dried mealworms, a hoggy favourite, and a few sunflower hearts with crushed peanuts to encourage investigation by my visitors. At this point my little helper Sid came along to investigate too and add her seal of approval!
I also added a couple of thin sticks in front of the doorway to confirm it has been entered.
At the time of writing this post (1.10am) I am happy to confirm there has been a visitor who has entered the house to investigate! Let's just hope they like what they see.
The total cost of this sturdy hoggy house was £15. I'm delighted by this, as they cost anything from £30 to a maximum of £59. I now have it in mind to make another slightly smaller one....
o - o - o
And finally (you'll be pleased to hear!)
I love fresh figs, and as they are only available seasonally I cherish each one! I found some beauties on offer the other day, so sweet and delicious that I decided to make some Fig Jam. After browsing my cookery books and checking on Google I found a recipe
here I thought looked very tasty.
So I purchased a full tray of them and proceeded (with a few tweaks) as follows.
Recipe for Fig Jam
1 lb of fresh figs
3/4 cup of preserving sugar
Juice and zest of 1 lemon
Pinch of salt
1/8 cup of red wine
1/4 teaspoon ground cloves
Chop the figs and add all the ingredients into a preserving pan, stir and leave to macerate for 1/2 an hour.
Then heat and simmer, stirring occasionally until 'jam temperature*' is reached.
Once the mixture has started to simmer, heat your clean jam jars at 110 deg. C to sterilised them. Just before you are ready to 'jar' the mixture place the clean metal lids into a container of boiling water for a few minutes.
When your mixture has reached temperature, turn off the heat and carefully using a stick blender break down the fig mixture to required consistency (please don't be tempted to blend before the mixture is ready, I found out on my second lot that the mixture turns into a boiling, spurting nightmare!)
Carefully add the mixture to the pre-heated jam jars. Remove the lids from the water, dry with a clean cloth and seal the jars immediately.
The jam has a wonderful depth of flavour, and the ground cloves add a delicious warmth.
From the two and a half pounds of figs that found their way into the pan (well, I mean you have to test them don't you?) I made three and a half pounds of delicious jam :o)
*(From Wikipedia) When the mixture reaches a
temperature of 104 °C (219 °F),
[citation needed] the
acid and the
pectin in the fruit react with the sugar, and the jam will set on cooling. However, most cooks work by
trial and error, bringing the mixture to a "fast rolling
boil", watching to see if the seething mass changes
texture, and dropping small samples on a plate to see if they run or set.
[16]
Thank you for sticking with such a LONG post. Hope you all have a great week - try the jam, you won't be disappointed ;o)
Best wishes